There is currently a Facebook hoax is making the rounds causing fears of online stalking.
But the story has been expelled by experts who say the social media site is still as safe as ever.
The myth that has been circulating claims that each user has a hidden list of “followers”. That is to say, people who can see what you post without being accepted as a “friend”.

The rumor claims that if a Facebook user goes to their settings section and types in “following me”, the site will reveal a list of ''covert followers''.
Fortunately this is not the truth and it is not the first time the hoax has reared its ugly head and scared social media users.
See also:
A user claimed to have uncovered the trick and wrote: “I just learned something new. If you go to account settings, blocking, block users, and type in “following me”, without the quotes, you might be surprised just who is following you. I had a lot people on it that I had no clue who they were. They are blocked now. I had to block them one at a time. Creepy... Most were middle eastern persons and all my posts are to friends, not public.”
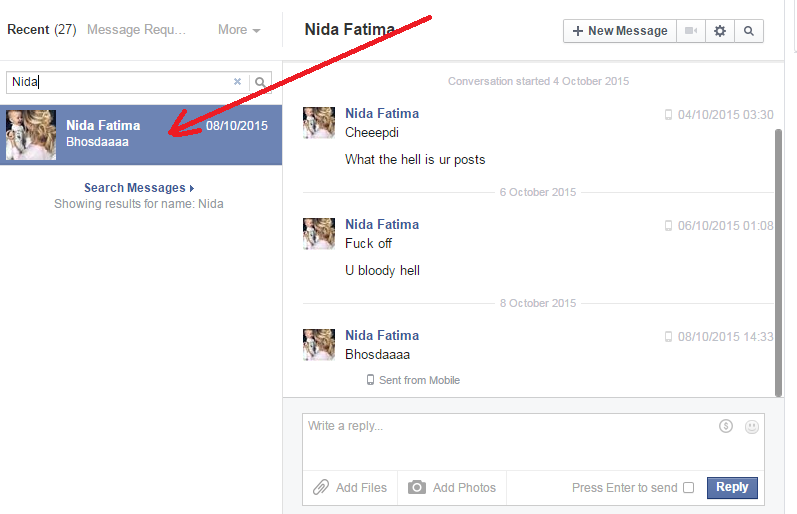
But typing ''following me'' into a search bar will simply display a list of other users with “following” or “me” in their names or contact information.
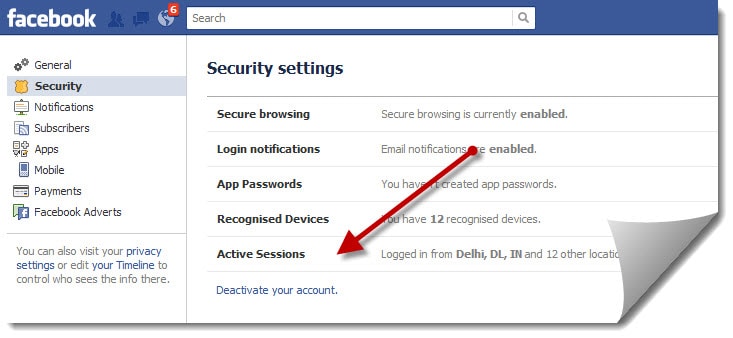
According to Facebook’s Help Center, you go to the right corner and select settings, then click public posts, then select friends or public next to who can follow me to see your genuine followers.
But the story has been expelled by experts who say the social media site is still as safe as ever.
The myth that has been circulating claims that each user has a hidden list of “followers”. That is to say, people who can see what you post without being accepted as a “friend”.

The rumor claims that if a Facebook user goes to their settings section and types in “following me”, the site will reveal a list of ''covert followers''.
Fortunately this is not the truth and it is not the first time the hoax has reared its ugly head and scared social media users.
See also:
- Delete My Facebook Account Permanently Right Now
- Delete Facebook app on iPhone
- How do I Delete Facebook Account Permanently
A user claimed to have uncovered the trick and wrote: “I just learned something new. If you go to account settings, blocking, block users, and type in “following me”, without the quotes, you might be surprised just who is following you. I had a lot people on it that I had no clue who they were. They are blocked now. I had to block them one at a time. Creepy... Most were middle eastern persons and all my posts are to friends, not public.”
But typing ''following me'' into a search bar will simply display a list of other users with “following” or “me” in their names or contact information.
According to Facebook’s Help Center, you go to the right corner and select settings, then click public posts, then select friends or public next to who can follow me to see your genuine followers.


 in the top right of any Facebook page


 in the top right and select Delete Album


 down.
down.

 at the top-right corner and select Settings.


 at the top right of your Facebook page
 in the top right corner of Facebook


